Night Photography Basics
For night photography, you want to avoid star trails in your pictures. Because the shutter is open from a few seconds to a few minutes, you might end up getting lines in a circular motion—this is a star trail. To avoid this, you’ll want to follow some night photography basics.
Shutter Speed for Night Photography
The rule of 500 is:
500/focal length = the time you can have the shutter open without getting star trail
I.E. If you’re shooting a picture with a lens at 24mm focal length, then you take 500 divided by 24 and you’ll get 20.83333—which is 21 when rounded. This means that you can have the shutter open for AT MOST 21 seconds before you start to see any star trails.
ISO for Night Photography
If your ISO is 100, then most likely you won’t get any light. This is where you’re going to have to experiment with higher ISO, resulting in a grainier look. I’ve used Canon’s 6D and was able to get great pictures of the Milky Way at 3200 ISO. Now that I have Sony’s a7s, I can go up to 64000 (yes, sixty four thousand) before the grains get annoying.
Aperture or F-Stop for Night Photography
To allow the most light in your picture, you’ll have to open up your aperture as much as your lens will allow. That means, if you have a 50mm lens at f 1.8, open it 1.8. This might sound contrary to traditional landscape, but it works.
Now adjust your focus point to infinity. This will take some trial-and-error to perfect, but if you’re using even an f 4.0 lens at 24mm on 3200 ISO, you’ll have the shutter open for about 20-25 seconds. So doing that a few times to get your stars into focus shouldn’t take too long, just patience in the micromovements of adjusting your lens back and forth.
White Balance for Night Photography
Setting your white balance should be the easiest part—daylight (5200-5500 Kelvin). Most cameras will have a white balance preset of “daylight” that should have it already adjusted to the correct temperature. If you shoot in RAW, you’ll be able to adjust the temperature in post that might help you tweak your shooting colors for the future.
Accessories for Night Photography
Because your shutter speed will be drastically increased from traditional photography, it’s highly advised that you get certain gear to help you out.
- Tripod: Sure you can set your camera somewhere and save you some money, but depending on how patient you are, this may discourage you from trying to capture the Milky Way or the epic night sky again. Here are some options to choose from that might help out.
- Shutter release cable: I’ve done night photography without a cable and did alright, but having the assurance that you’re clumsy hands won’t ruin the pics is definitely worth the cost, especially if you’re taking a sufficient amount of pictures anyway. One trick I learned without using a shutter release is to add a 2-second timer. Because you’re subject—the stars—aren’t going anywhere, you don’t absolutely need the shutter release accessory.
- Lens hood: I’ve taken some awesome shots backpacking at night and even in the city—a lens hood is a must. Because light can come from any direction, you want to only capture the light coming from the sky—not the side. Flash lights, city lights, and any other light can pollute your photo. Some Canons come with a viewfinder cover specifically to block light coming in from behind the camera, so that’s a good indicator of how influential light can be, even from behind the camera. This can be found on your Canon camera strap, it slides on top of the viewfinder of your camera.
Conclusion
Night photography has its rules that you’ll need to follow. When these rules are understood, then break them to find your style. Adobe’s Lightroom is perfect for fine-tuning your photos and giving you specifications on how you can take your shots next time.
- Shutter speed: Follow the rule of 500.
- Aperture: Open your f-stop as much as you can and focus to infinity
- ISO: Start at 3200
- White balance: 5200-5500 Kelvin (Daylight)
Night Photography is very rewarding once you’ve done it for a night or two. When I started, it took maybe 10 photos in one night which took at most 15-20 minutes. Most of that time was looking at every picture in awe.
If I can do it, you can too.
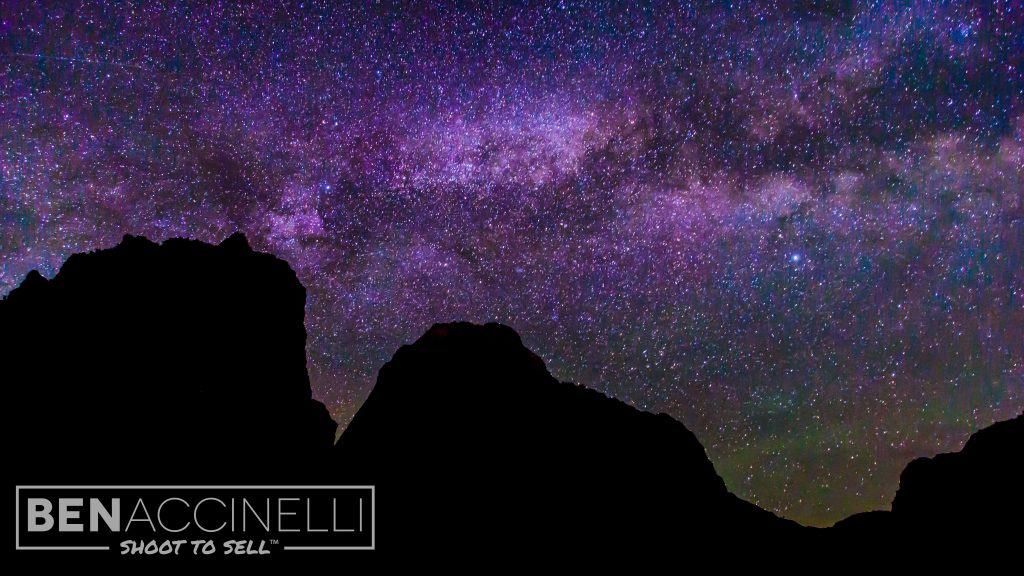
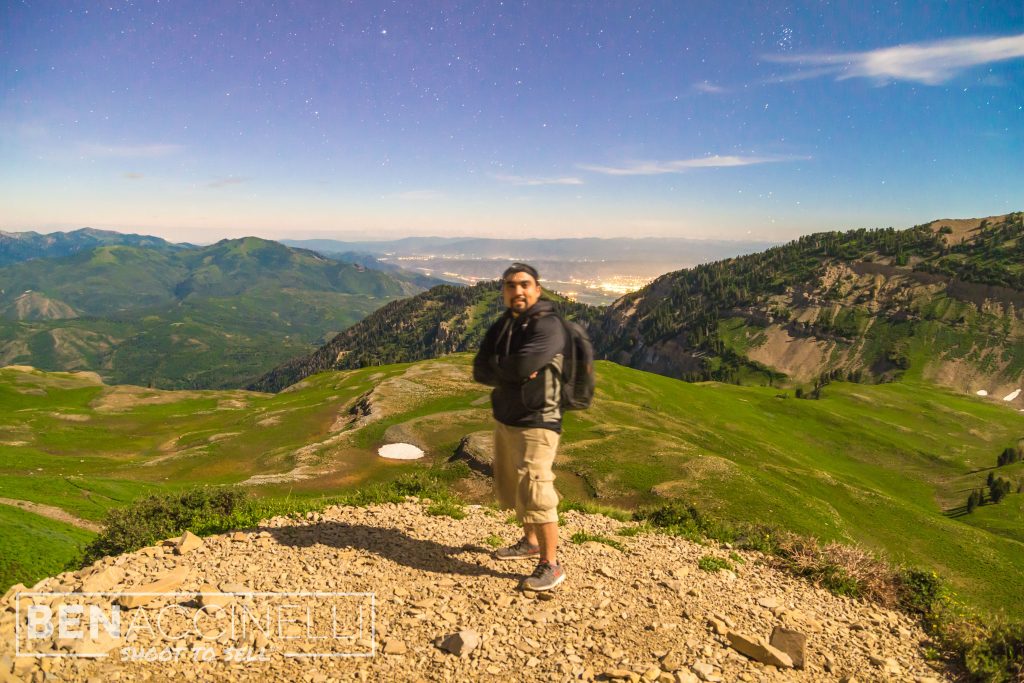
This was the second time I learned how to shoot night photography. This was the first full moon in July 2015. This was taken at Zions National Park. Because the sky was very lit and I couldn’t get any good shots of the Milky Way, I decided to climb Mount Timpanogos later in the month to get some night sky shots. It was closer to home and the large mountain would be able to hide a lot of the city lights.
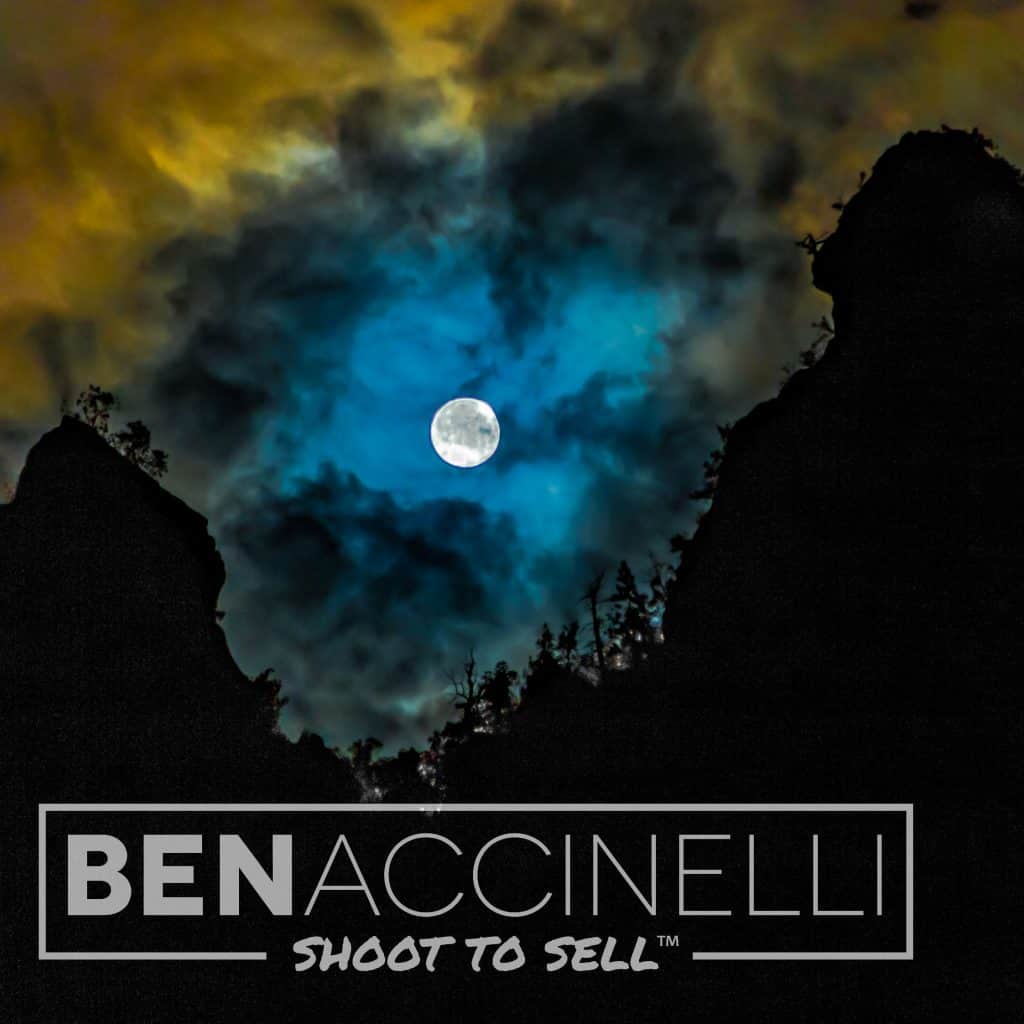
I hike Utah’s Mount Timpanogos through the night to get the Milky Way and a sun rise shot, but this was the blue moon in July 2015. The sky was very lit and I couldn’t get the night sky like I wanted, but it still made a great shot.


