Ricoh Theta Z1 Settings For Real Estate Virtual Tours
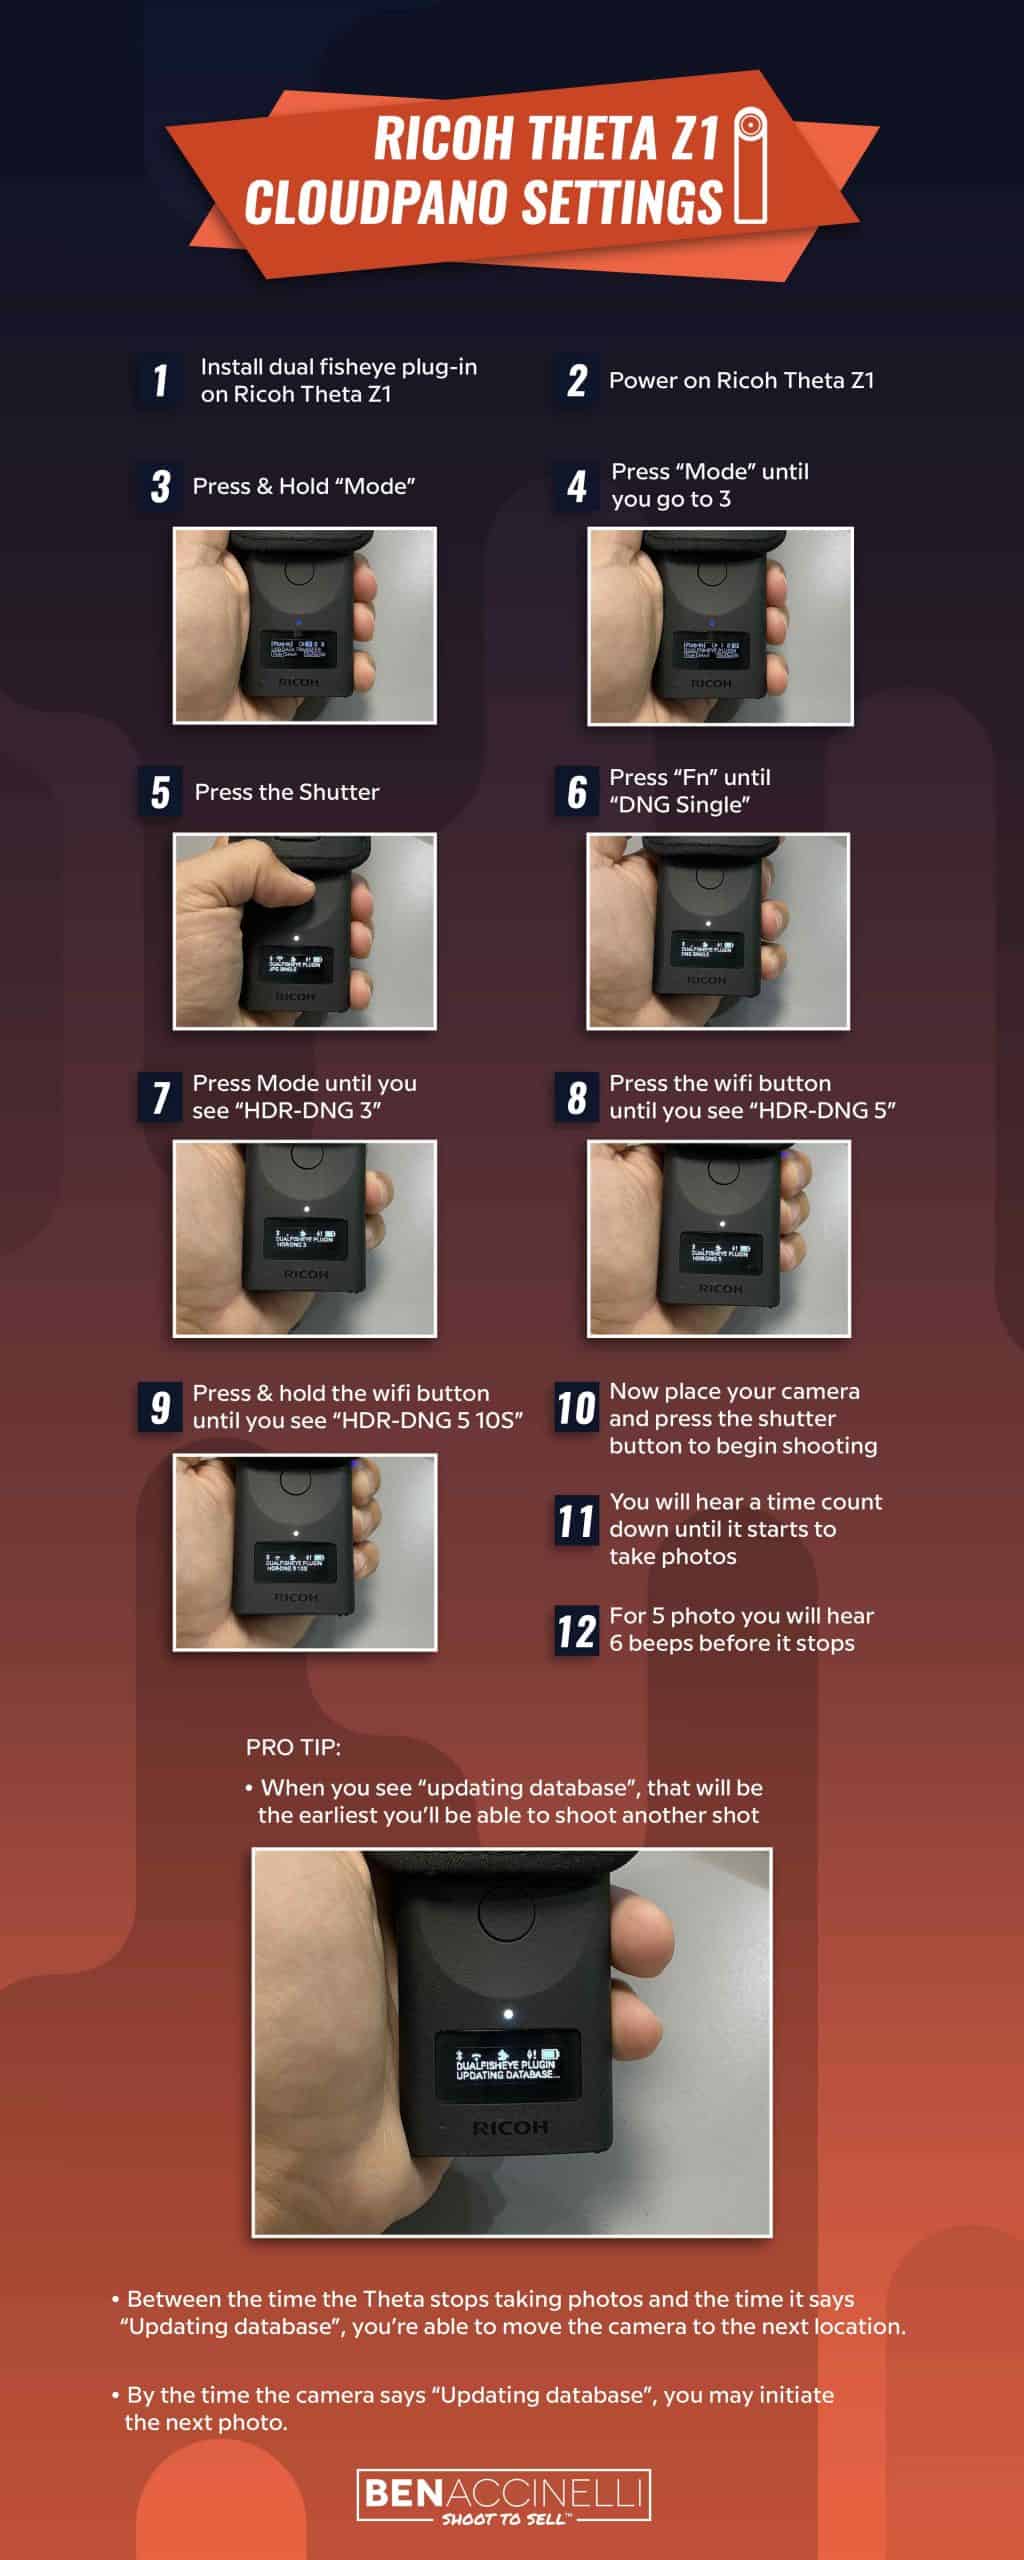
I’m going to show you how to set up your Ricoh Theta on the dual camera lens for cloud pano tours. This does not apply for Zillow 3d tours. This only is applicable for cloud pano tours for uploading onto a third party software.
- Install dual fisheye plug-in on Ricoh Theta Z1
- Power on Ricoh Theta Z1
- Press & Hold “Mode”
- Press “Mode” until you go to 3
- Press the Shutter
- Press “Fn” until “DNG Single”
- Press Mode until you see “HDR-DNG 3”
- Press the wifi button until you see “HDR-DNG 5”
- Press & hold the wifi button until you see “HDR-DNG 5 10S”
- Now place your camera and press the shutter button to begin shooting
- You will hear a time count down until it starts to take photos
- For 5 photo you will hear 6 beeps before it stops
Pro tip:
When you see “updating database”, that will be the earliest you’ll be able to shoot another shot.
Between the time the Theta stops taking photos and the time it says “Updating database”, you’re able to move the camera to the next location.
By the time the camera says “Updating database”, you may initiate the next photo.

